Stay Connected

Photobucket Photobucket Photobucket

Friends

Grab A Button

Photobucket

Search This Blog

Blog Lovin'

Easy Blog Tips!
TCBOTB
Powered by Blogger.
Showing posts with label cookies. Show all posts

Friday, March 16, 2012

Foodie Friday

Happy Friday yall!  Im so excited for this weekend because Im going to the Houston Rodeo and we are FINALLY going to see Alan Jackson!  So psyched!  Even better its going to be a nice weekend (unlike last weekend when it was a non stop rain) so we will get to see all the rodeo has to offer yay!  I have to say being from Texas...and Houston on top of that I think we have the best rodeo but I have come to realize while our rodeo lasts 4 weeks its not the biggest.  Shocking I know!  The largest Rodeo is actually in Las Vegas but thats only because its the finals.  Each rodeo has their own finals but the rodeo in Las Vegas brings all the champions from the other states and they compete there.  The Las Vegas rodeo though is only 3 days but it sells out the entire city...I know I used to work there.  Crazy times...but while Vegas may be the ultimate finals...Texas has the best BBQ, the best concerts and the best people.  YEE-HAW!  Sorry I had to throw that in there.

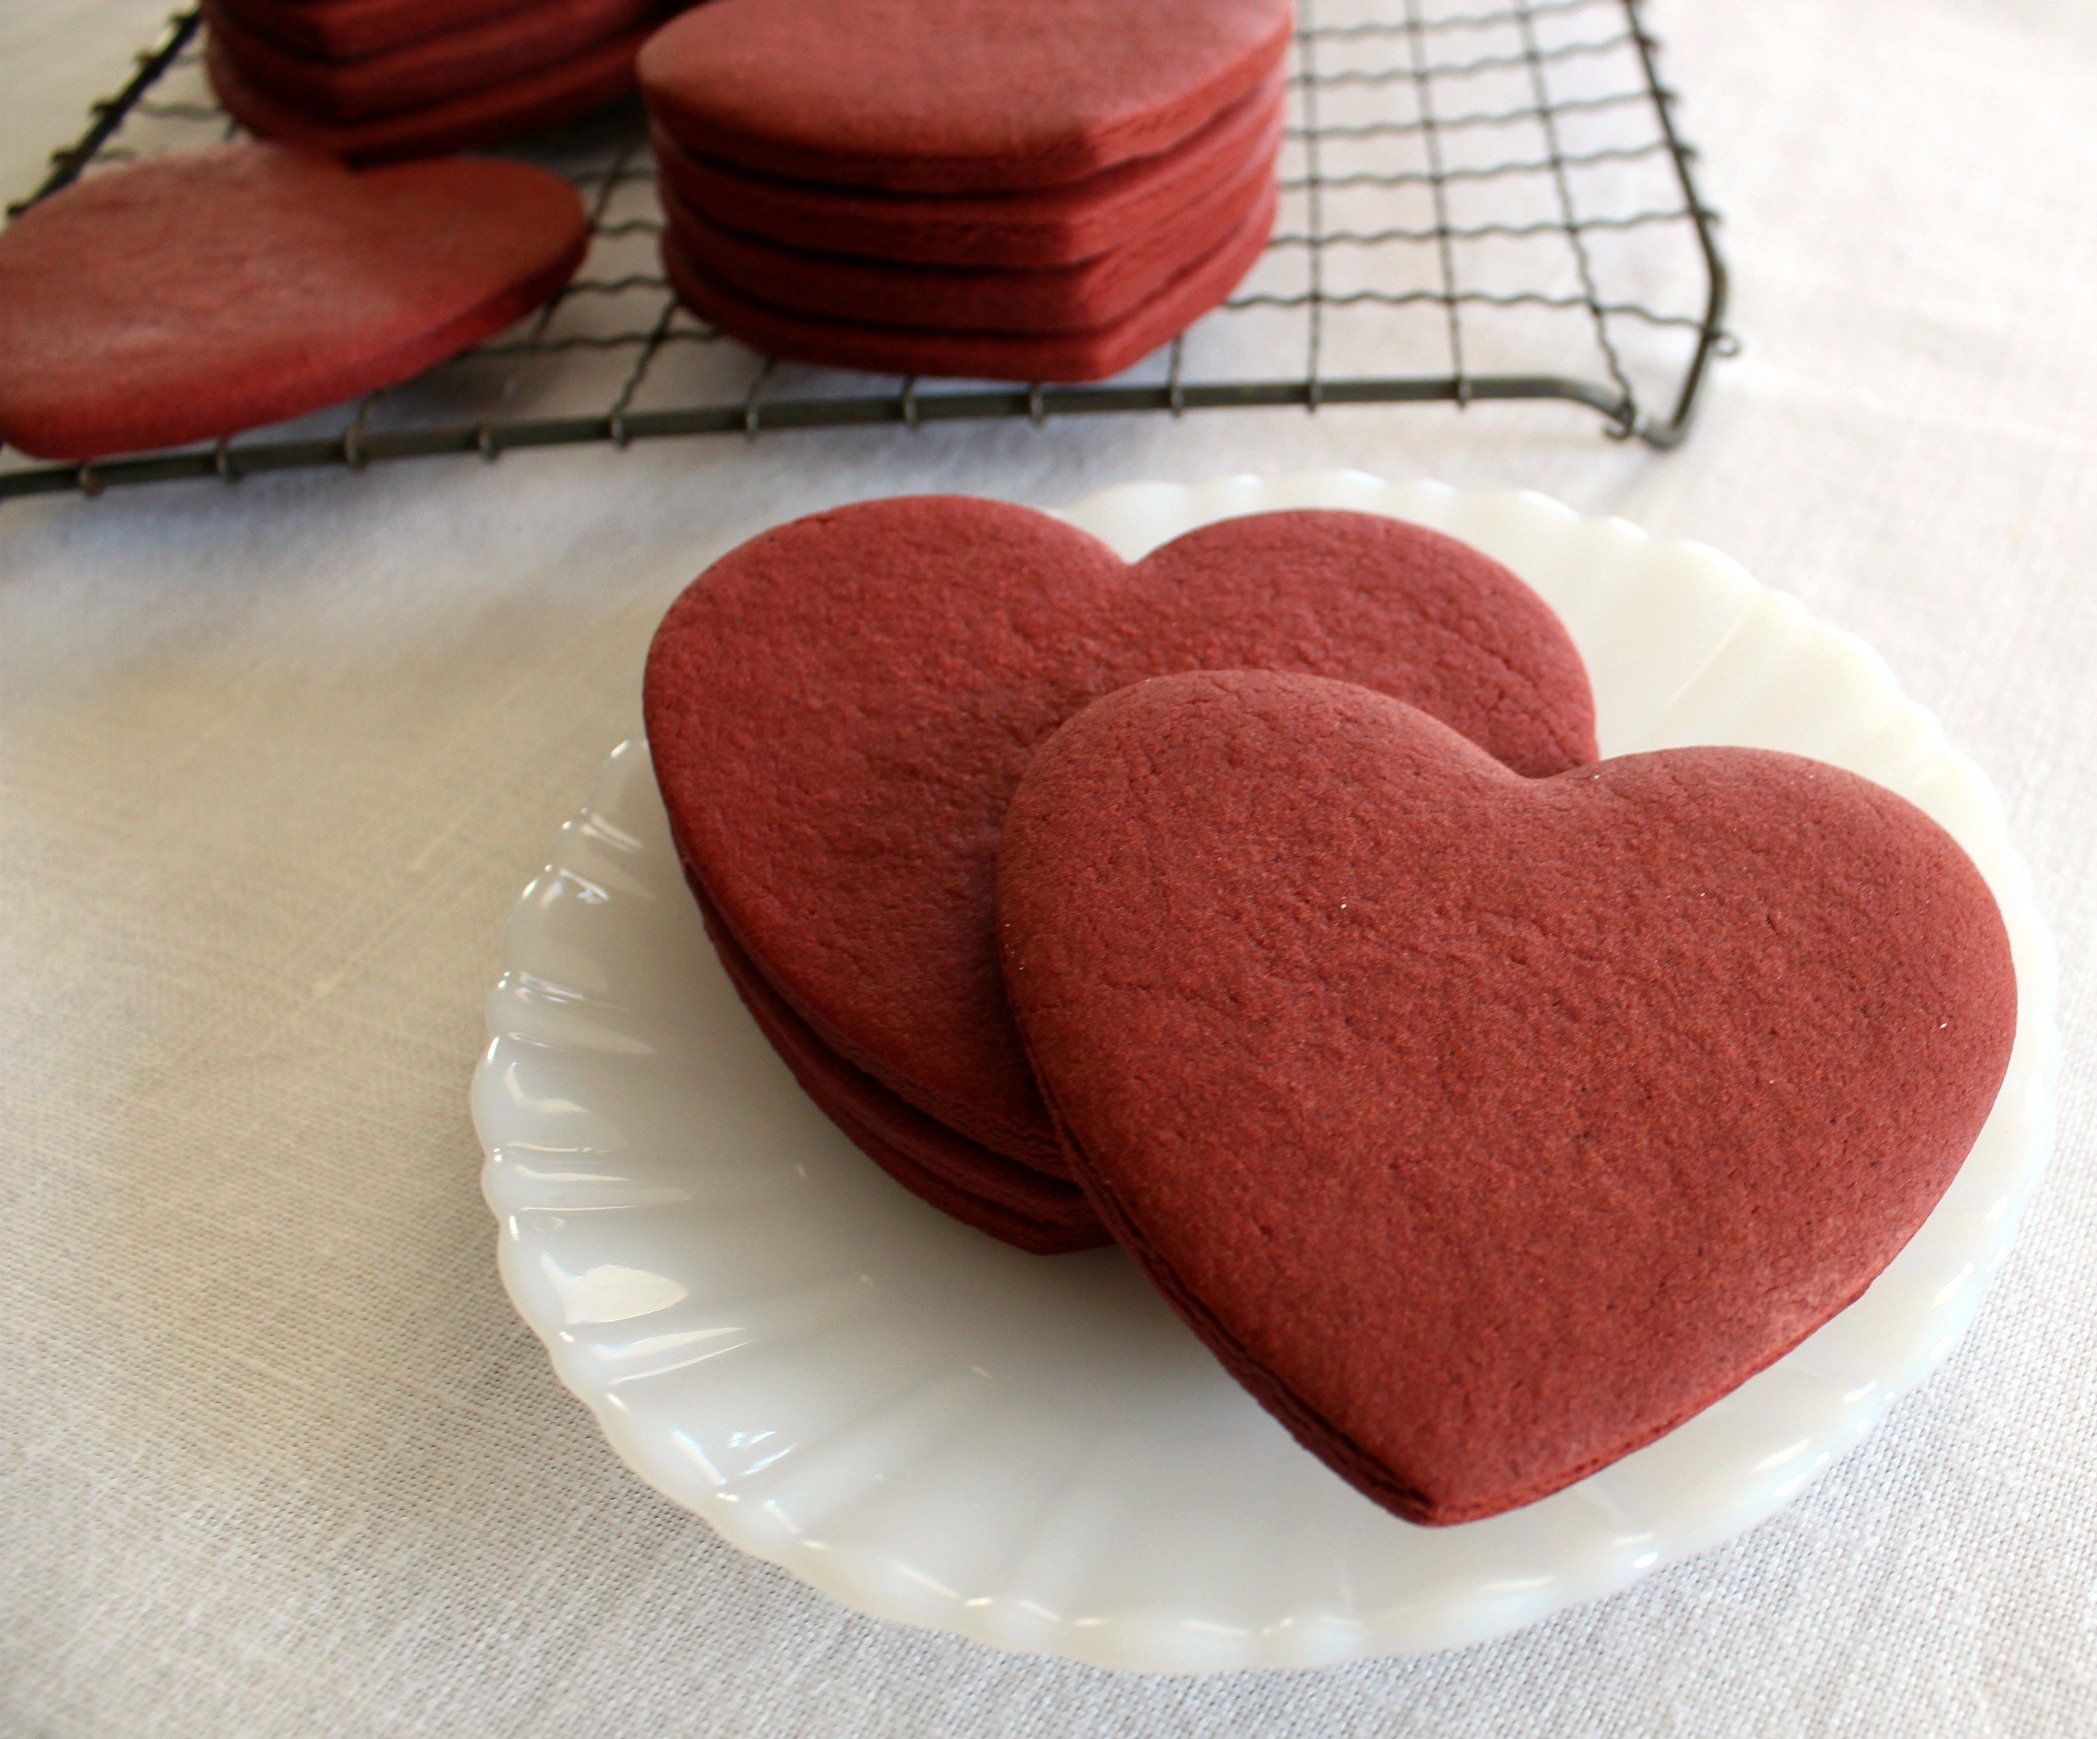
Today's recipe has nothing to do with the rodeo or BBQ but really valentine's day.  I wanted to make these cookies for Valentine's day but it took me FOREVER to fine some of the emulsions the recipe called for.  I took 2 of them out (they were for the icing anyway) so it shoudnt be too hard to make this.  I have made Red Velvet drop cookies before but honestly I dont really like drop cookies they are messy and goopy.  I love cut-out cookies because of all the shapes you can make and this was that recipe.  When I ate these I dont know what I was expecting but they are really tasty but they do taste like a perfect mix between a cookie and a cake.  What that means is they are dry but soft at the same time and man if you dont have milk you will need some!  I enjoyed these cookies, they didnt take too long to make which is always a plus so I hope you enjoy them too!
Red Velvet Cookies
Servings: 3dzn      Prep Time: 10min       Cook Time: 6-7min            Difficulty: Easy

Ingredients

·         1 cup unsalted butter
·         2 cups confectioners sugar
·         1 egg
·         2 tsp vanilla bean paste {or extract, I love the paste it has a stronger flavor}
·         1 tbsp Lorann red velvet emulsion
·         2-3 tbsp milk
·         1/2 cup Hershey’s Cocoa powder
·         1/4 cup buttermilk powder
·         3 1/4 cups all-purpose flour
·         2 tsp baking powder
·         1/2 tsp salt
·         splash {about 1/2 a tsp} apple cider vinegar

Instructions

Preheat oven to 400degrees
Cream together butter and confectioners sugar. Add the egg, vanilla, red velvet emulsion, and milk and mix well. Start with 2 tablespoons of milk, then add the rest if the dough is a little dry after adding the flour mixture. Sift together the cocoa, buttermilk powder, flour, baking powder and salt and add to the wet ingredients. As the dough begins to form add a splash of apple cider vinegar. The dough should be soft but not sticky.
After mixing, let it rest for five to ten minutes, then roll out on lightly floured surface to 1/4 inch thickness. Cut into desired shapes and bake for 6-7 minutes.
Makes about 3 dozen 3 1/2 inch cookies

**Notes**
I tried using royal icing with butter vanilla emulsion but I think a cream cheese frosting would be better.  Royal icing gets hard which is great for storage but I think the cream cheese frosting would taste better.  I've never made a cream cheese cookie frosting before so I dont have a recipe for that but I have a royal icing recipe below if you want to do that.

Royal Icing
(A Bake at 350 blog recipe)
Servings: 2-3dzn          Prep Time: 10min        Cook Time:       Difficulty: Moderate

Ingredients
·         4 TBSP meringue powder   (I use wilton)
        1 lb powdered sugar         
        ½ - 1 tsp light corn syrup
·         Scant* 1/2 c. water             
       food coloring if desired
       1/2 tsp extract of your choice (I use vanilla normally)

Instructions
Combine the meringue powder and water. With the paddle attachment of an electric mixer, beat until combined and foamy.  Sift in the powdered sugar(I have skipped this and it was ok just not as smooth) and beat on low to combine.  Add in the corn syrup and extract if desired. (I think the corn syrup helps keep the icing shiny.)
Increase speed to med-high/high and beat for about 5 minutes, just until the icing is glossy and stiff peaks form.  (You should be able to remove the beater from the mixer and hold up and jiggle without the peak falling.) Do not overbeat.
Cover with plastic wrap touching the icing or divide and color using gel paste food colorings.
*A scant cup is a measuring cup not filled all the way up to the top.


If you do want to try a Cream Cheese Frosting I have one from Crazy for Crust that I havent tried but they make some amazing desserts over there so Im sure its great.

For the Cream Cheese Frosting:
·         8oz cream cheese, softened
·         ½ c butter, softened
·         4c powdered sugar
·         1 tsp vanilla extract

   I Instructions
    Make the frosting: Using a hand mixer, cream butter and cream cheese until fluffy. Slowly add in powdered sugar and vanilla. Mix until smooth


   I hope you enjoyed this recipe today, and yay Im trying to take better pictures, I even broke out my wedding china for you guys!


    Project Housewife Out!


   Im Linking Up!  Come check me out at While He Was Napping, Serenity Now, Petals to Picots, Bacon Time, Addicted2Decorating, Six Sisters Stuff, Add A Pinch, A Bowl Full of Lemons, Tip Junkie, Crazy for Crust, Not Just a Housewife, Ginger Snap Crafts, Southern Lovely, My Girlish Whims, Lil Pink Pocket, Made Famous By, Beyond the Picket Fence, DIY by Design


Monday, January 9, 2012

Just Another Manic Monday

Happy Monday everyone!  Its raining here and hopefully bringing some cold weather with it, but I wont get my hopes up.  I know its Monday and not Friday but I am dying to share 2 recipes with you.  The first recipe comes from bakingdom.com and I LOVE this blog...mainly because she has some awesome Harry Potter-esk recipes which Im going to link to today.  This is the amazing BUTTERBEER!!  Thats right BUTTERBEER!!!!!  I have been to the Wizarding World of Harry Potter twice and always drink way too much of the butterbeer because I know I cant have it any other time.  They make 2 kinds for those of you who dont already know, a slushee version and a soda version.  Some people prefer the slushee version because it isnt as sweet but I dont really like it, it just doesnt taste right to me.

I love butterbeer :)  Anyway, on to the recope.  Here is the link to the recipe for Butterbeer.  Its super easy and oh so delicious.  I made this over the weekend and found that I actually only needed to whip the topping for 1 minute before it was nice a fluffy.  Also when I was at Kroger they were out of regular A&W cream soda so I had to get diet...NOT THE SAME...it tasted very watery and not rich and delicious like I remembered so I had my husband stop and get some IBC cream soda (you know the delicious kind in the glass bottles) and man oh man it made a BIG difference.  So yes folks, sometimes it is better to get the name brand and not diet...just sayin'

So this picture you can see my amazing butterbeer with the whipped topping a little too whipped and my next recipe I want to share with you comes from Bake at 350 , another great blog that I love at follow daily for great sweet recipes.  This one is for the cookies, the BUTTERBEER COOKIES!!!  I made these for the neighbors for Christmas and they were by far the favorite, my husband loves them and I cant stop eating them.  I think the best part of these cookies is that the cookie itself isnt sweet, so when you put the glaze on the top it isnt so sweet you can only eat one (well i guess maybe that the bad part because I eat way too many!)  Ok on to the Butterbeer cookies .  I love this recipe because they are super easy to make and you dont have to chill them.  I hate when you have to chill the dough, I want the cookies NOW...ok so I am a little impatient but its so rare that I actually make homemade cookies that I dont like to wait.

See the pretty butterscotch glaze, its so tasty!  I ate these babies while watching Harry Potter and the Prizoner of Azkaban, good movie good eats good night!  So what are you waiting for go make these bad boys!!  PS---I tried to find some Harry Potter cookie cutters and found none that were worthy.  If you know where I can get some awesome Harry Potter cookie cutter, let me a comment so I can go buy some!

Not even a crumb left it was THAT good.  So go check out Bakingdom and Bake at 350 , leave them some love and let them know Project Housewife sent you.  These ladies are seriously talented and you will love what they have on their blog. 

Project Housewife Out!

Friday, December 16, 2011

Foodie Friday

YAY for Friday!!  Today is Foodie Friday and Im going to share with you one of the recipes I make for Christmas Cookies.  I love christmas cookies, making the dough, cutting them out, but I HATE decorating them.  I dont know why, I just hate decorating cookies, but se la vie we all have to do things in life we dont really like.  So lets get to the recipe shall we?!  Today is Eggnog Cutout Cookies.  I love these because the spice is subtle and the decorating is a snap!  I divide the icing recipe into 4 bowls and dye them different colors to make fun solid color cookies.  Here is the recipe:

Eggnog Cutout Cookies
(A Taste of Home recipe)

Servings: 4dozen         Prep Time: 25min           Chill: 1hr            Bake: 10min        Difficulty: Easy

Ingredients
  • 1/2 cup butter, softened
  • 1 cup sugar
  • 2 eggs
  • 2 tablespoons plus 1 teaspoon eggnog
  • 2-1/2 cups all-purpose flour
  • 1/2 teaspoon salt
  • 1/4 teaspoon baking soda
  • 1/4 teaspoon ground nutmeg
Icing
  • 2 cups confectioners' sugar
  • 1/4 teaspoon ground nutmeg, optional
    • 4 to 5 tablespoons eggnog (the better quality eggnog the better the icing, thick is good)
  • Liquid or paste food coloring, optional
Instructions
  • In a large bowl, cream butter and sugar until light and fluffy. Beat in eggs. Stir in eggnog. Combine the flour, salt, baking soda and nutmeg; gradually add to creamed mixture and mix well. Cover and refrigerate for 1 hour or until easy to handle.
  • On a lightly floured surface, roll out dough to 1/8-in. thickness. Cut with floured 2-1/2-in. cookie cutters. Place 2 in. apart on greased baking sheets.
  • Bake at 375° for 8-10 minutes or until edges begin to brown. Remove to wire racks to cool.
  • In a small bowl, beat the confectioners' sugar, nutmeg if desired and enough eggnog to achieve icing consistency. Add food coloring if desired. Spread over cooled cookies; let stand until set. 
A note from me...when you roll them out you need  ALOT of flour, they can be kinda sticky and the first batch will not un-stick from the surface, but once you get to the second, third, fourth batch they turn out great.  Just be prepared to use a lot of flour.
I love these cookies and hope you do too!  Make sure and share :)  If you have any interesting variations to share let me know I would love to hear how you made this recipe your own!

Project Housewife Out!